Thank you to Carpet One for sponsoring this post and thank you to my loyal readers for supporting CGHI. All photos and opinions in this post are 100% my own.
The time is near to fully remodel our master bathroom and flooring on the second level. It’s an exciting time that I’ve been anxiously awaiting since I did this temporary makeover about 3 years ago!
Needless to say, I was thrilled when Carpet One asked me to be a part of their “Twenty for 2020” campaign. Their flooring experts narrowed the top flooring trends of 2020 down to their top 20 products for the year and you can click here to see them all.
Every design I do begins with a mood board, whether it’s for me, a client, remote or local. This allows you to see how the color palette and textures come together before making any big purchases. This is especially important if you’re doing a remodel because items such as fixtures, wall tile, flooring, etc. aren’t easily changed and can be costly if you decide to go a different route after install has begun.
I take 3 simple steps to create the perfect mood board that will knock your socks off every time!
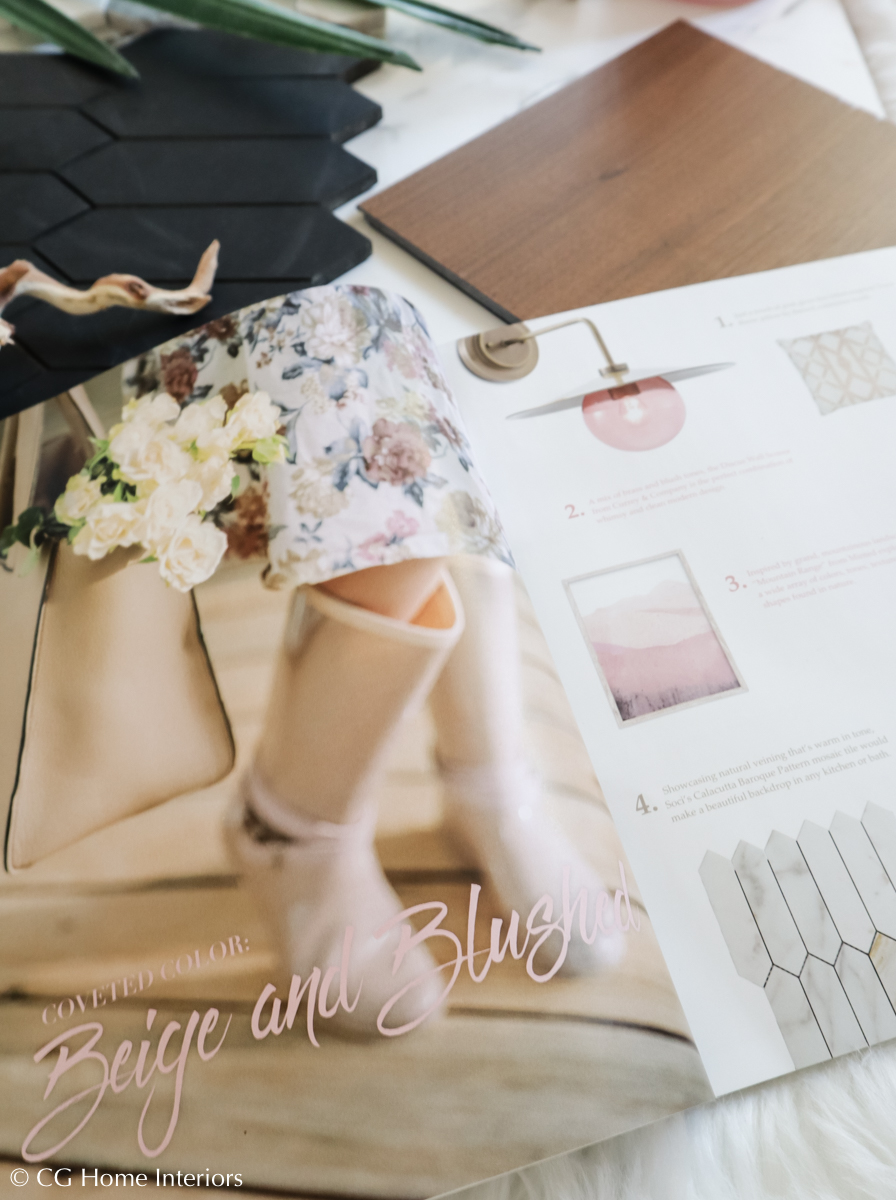
1. GET INSPIRED
Whether or not you already have an idea of what direction you want to go, it’s still a good idea to gather inspiration to make certain that’s what you’re going to be happy with for years to come.
A good place to start is Pinterest, or good ol’ fashioned magazines. Compile all of the photos that grab your attention and make note of what elements you’re drawn to in that particular setting. Is it the textures? Color palette? The lines or curves in the furniture? Shapes? The movement in the stone? And so on.
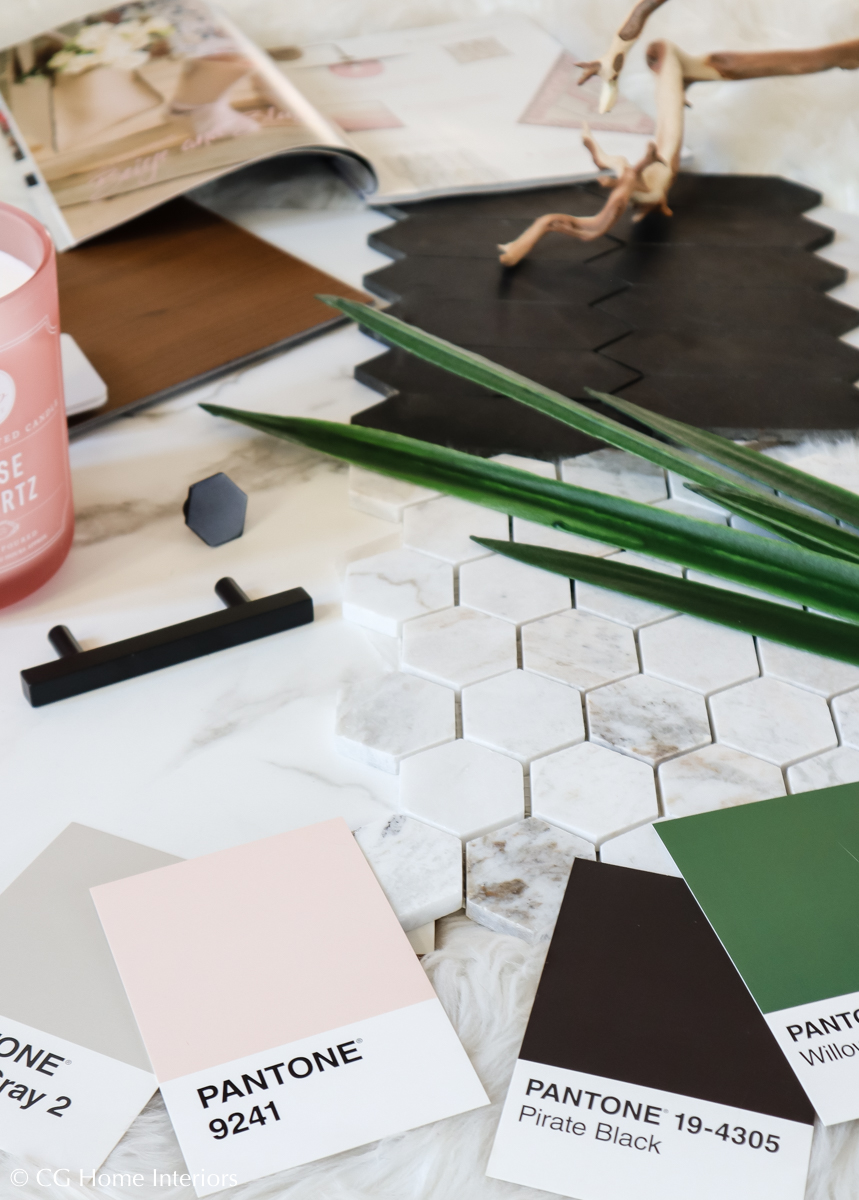
2. PICK YOUR COLOR PALETTE
After you’ve gathered your inspiration, study your collection and take note of the colors you most commonly see. Typically you’ll notice about 3-4 colors or shades that you’re drawn to pretty consistently.
I’ve designed enough spaces to know that I gravitate toward neutral earth tones, a pop of contrast and one or two accent colors (one of those accent colors usually being greenery).
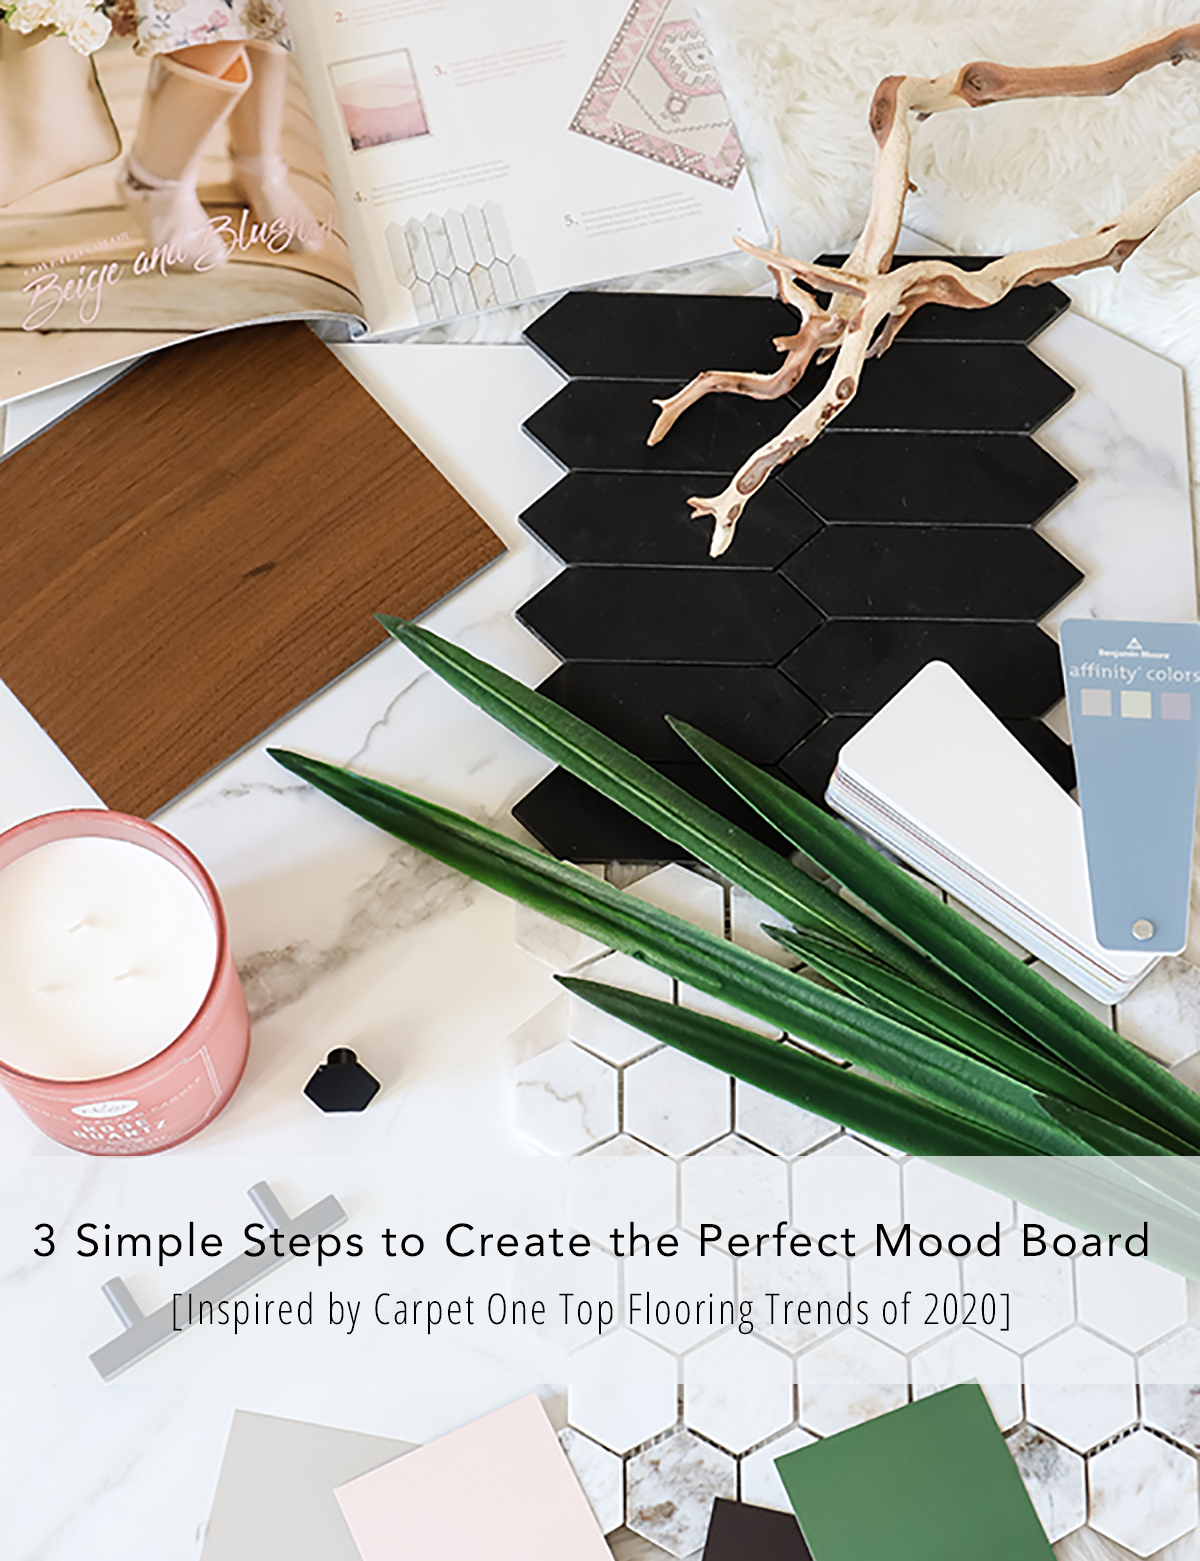
For our master bathroom I love the contrast of the black picket tiles for a shower niche against marbled wall tile and marbled hex tiles for the shower floor. With that I’ll use matte black fixtures and hardware to tie in the picket tile accent, saving the blush for pops of softness in décor and green in plants.
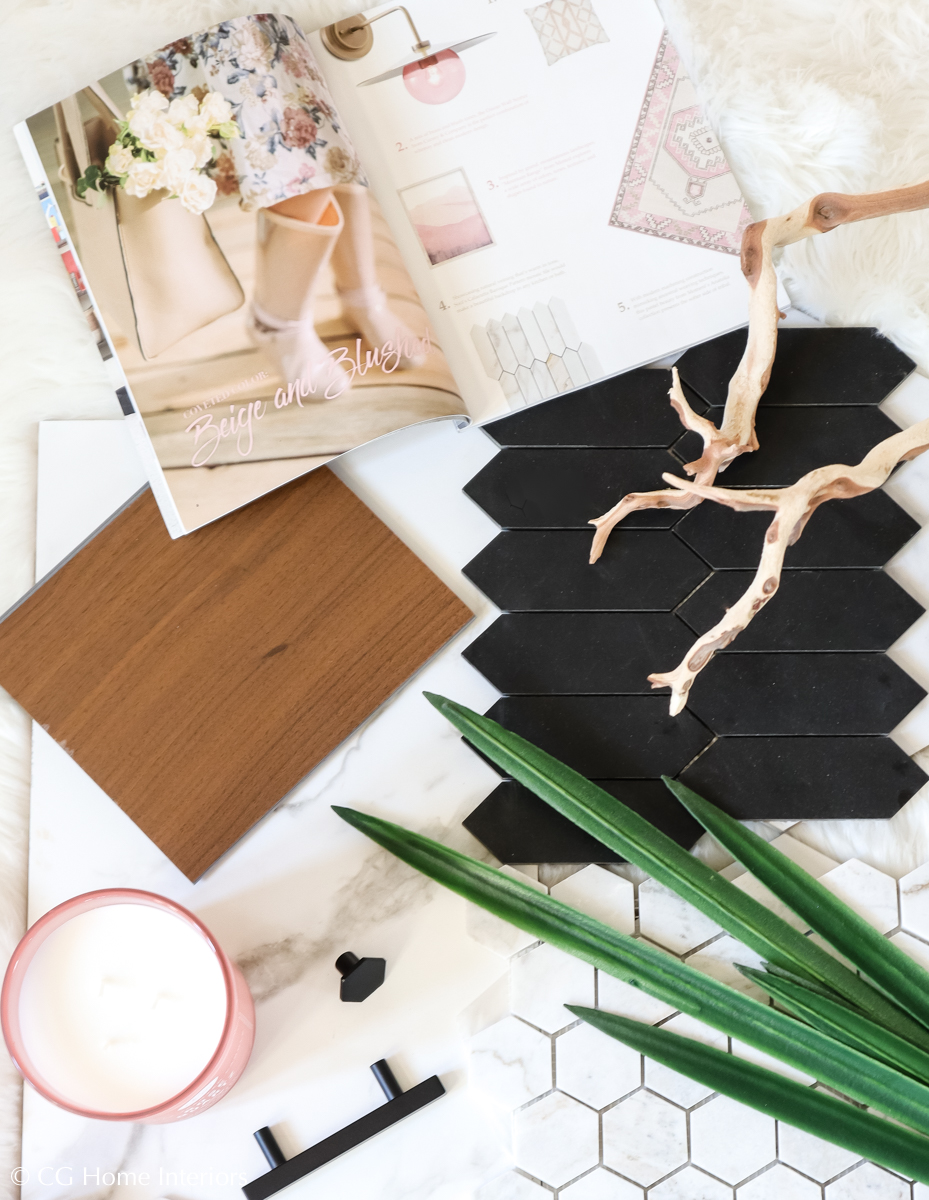
I’m a huge fan of contrast, but I also love to soften it up by adding wood tones and natural elements. This can easily be done via cabinetry and/or flooring. Since the marbled tile from the bathroom will meet the flooring I choose for our bedroom, this is a small but very important element to include in my mood board.
The wood flooring from Carpet One pictured in my mood board is their Shelby Lane Walnut Hardwood in Buried Treasure. This is a midrange wood tone with a good amount of variation in the individual planks. An important factor when selecting any type of wood flooring is durability. The key factors I look for are how well it is going to hold up against water, pets and hard soled shoes. This particular flooring has a 50 year warranty on wear and finish along with a pet proof and waterproof warranty for the life of the floor - so the durability is definitely there! (You can see more options here)
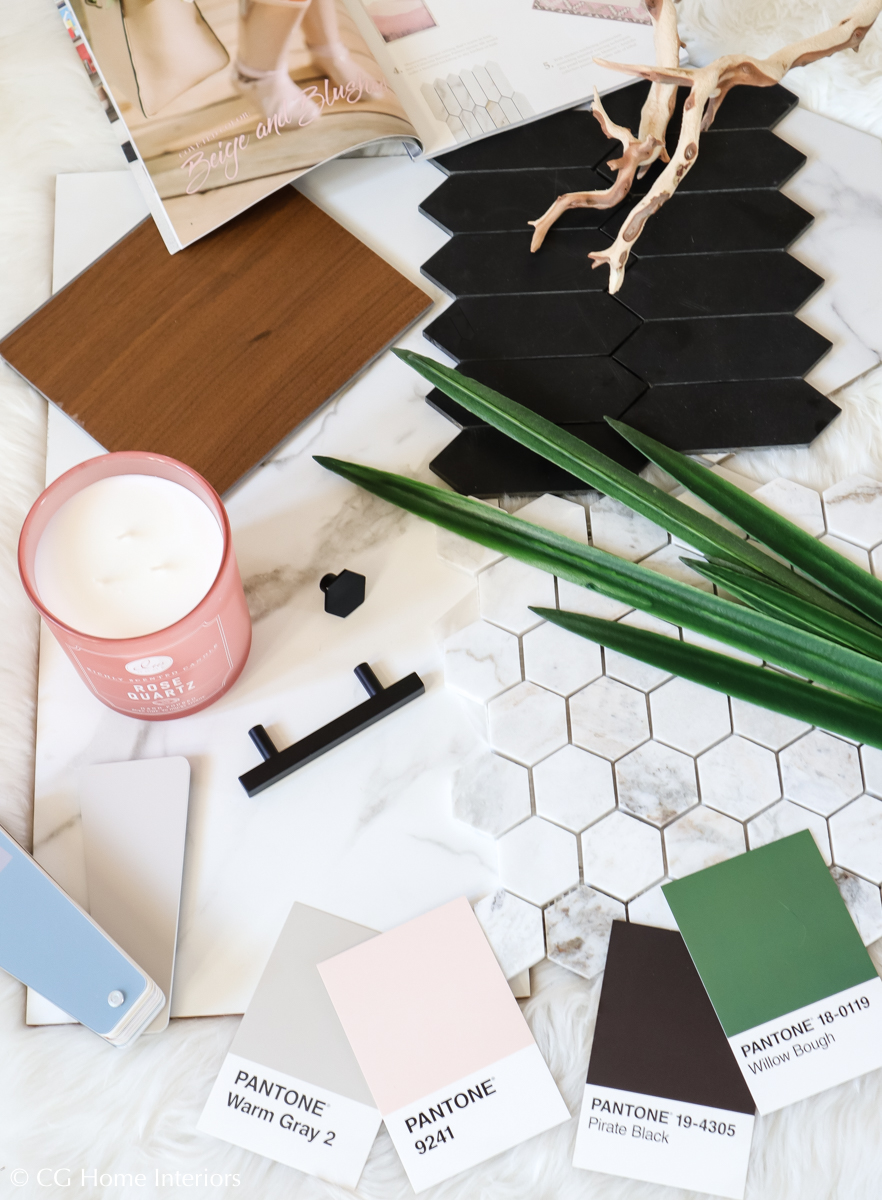
3. SOURCE SAMPLES AND PUT IT ALL TOGETHER!
After you’ve gathered your inspiration and decided on your color palette, the fun begins! Gathering samples is always my favorite part because it’s one step closer to another project coming to life.
Whether you’re sourcing online or locally, most places offer flooring and tile samples so you’re not stuck ordering a full box. Samples are especially important if you’re sourcing online because the coloring in the product photos may vary on your screen, so that is definitely something you want to see in person before purchasing enough for your full project.
Another reason it’s wise to gather physical samples is to see how it looks in the lighting in your house. The way it looks online, in the store, my house and yours may be very different, so it’s important to get it in the actual setting to make sure the tones complement each other.
Now that you’ve seen it all together, you can make any necessary adjustments if there’s something you don’t love and feel more confident when it’s time to shop!
Pin this image and visit this board for more mood board and flooring inspiration!
Christina
